How to Create a Home Makerspace for Your Kids
Having a dedicated makerspace for your kids is a fantastic idea. Giving your child a place and the tools to express their creativity may help them to learn how to manage stress from an earlier age. The kinds of activities that your child will be able to explore in a makerspace are the sort that encourages focus and concentration. So, if you want to reap these benefits but aren’t sure how to get started, here’s a guide to setting up your home makerspace.
Related post: 5 Brilliant Makerspace Lesson Plans | Get Creative!
Creating a Work Space
One of the first decisions you’ll need to make is which part of your home you’re going to turn over to your kids. You may already have a space in mind, but if not, you might want to pick a spot that has easy access to a sink. This can be helpful for cleaning up messes.
You don’t need to dedicate an entire room. You can just use a small corner of a shared space if you need to. For most projects, you can figure out how to make it work in a smaller area. Choosing the right makerspace furniture can help with this.
Think About What The Space Will Be For
Before you can start planning your space, you might want to take a little while to think about how the space is going to be used. This will depend on a combination of the age and interests of your child. Once you know what your child will use the space for, you can get a good idea about how much storage space vs. table space you’ll need.
Here are some ideas of ways kids might use a makerspace
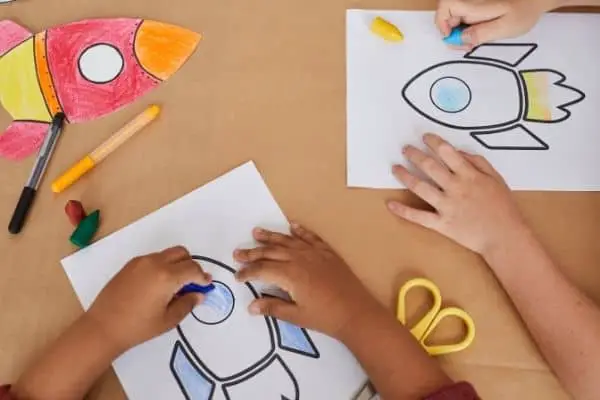
- Arts projects
- Construction projects
- Making clothes or accessories
- Building LEGO creations
- Trying science experiments
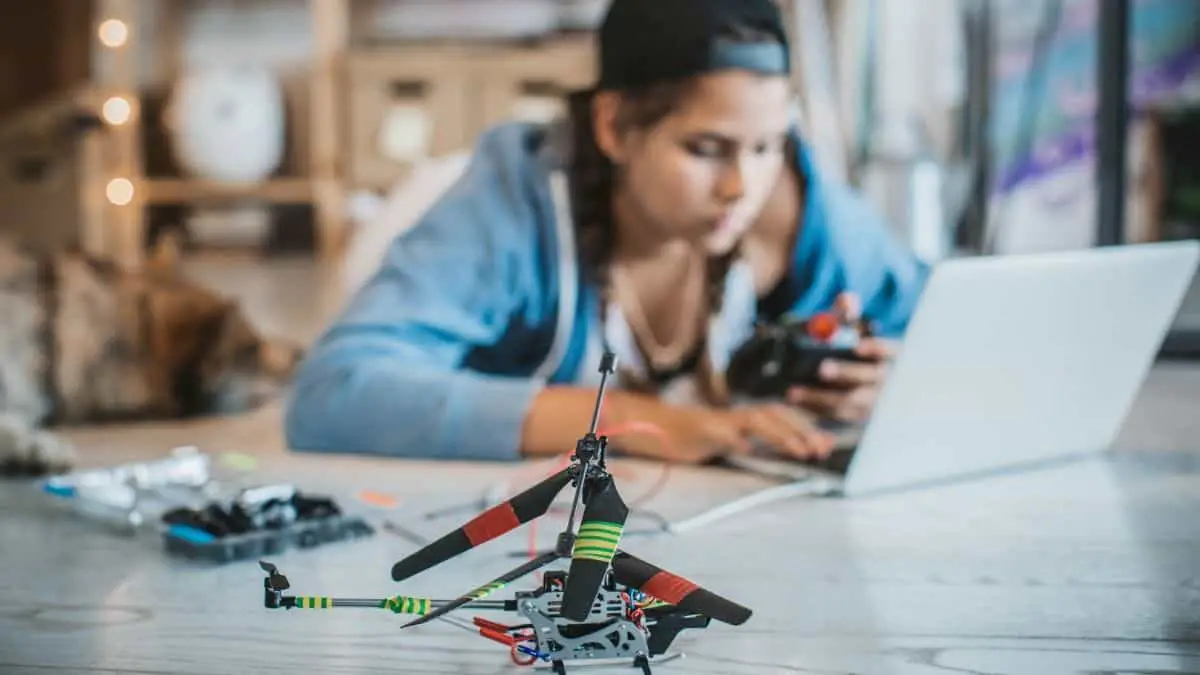
- Electronics projects
- 3D Printing
- Woodworking
Choosing the Right Makerspace Furniture
One thing you’ll need in any makerspace is some tabletop room. So a desk is probably going to be a must for most spaces. If you’re short on space, you might want to think about a computer desk with an extendable table. This can give you the space needed for a project while minimizing the footprint in the room.
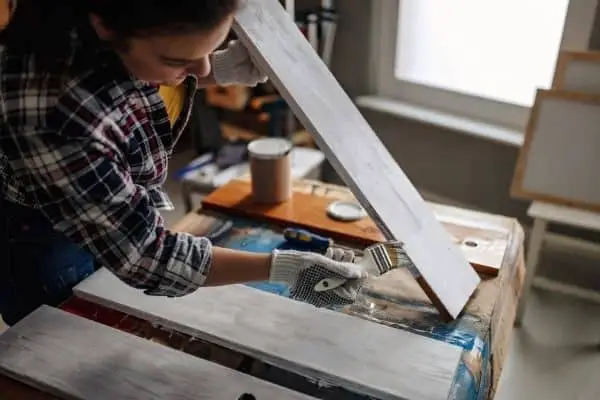
It can be a good idea to look for second-hand furniture for your makerspace. After all, there’s a good chance that it’s going to end up covered in paint and maybe even with dents in the top. If your kids are a little older, your first project could be restoring or painting some old furniture to get it ready for their new workspace.
Besides a work surface, two other items are easy to forget but can be a significant asset in any makerspace. The first is a good desk light. If you’re working on anything fiddly, then a desk lamp can make a world of difference. The same is true for art projects.
The second item is a whiteboard/chalkboard. Boards like these are great in a makerspace. They are handy for planning projects, keeping track of where they are in a project, and just noting down ideas and reminders.
Planning for Mess
No matter what sort of projects your kids will be working on, it’s almost a certainty that they will end up making a lot of mess. So you might want to consider ways to make cleaning up easier.
For instance, you could line the top of their table with a large sheet of cardboard. This works well to protect the table and can be changed when it’s too messy or damaged. If you use painter’s tape to secure it, the cardboard will stay put, and the tape won’t leave any marks on the furniture.
You may want to create an improvised splashback if the desk is against a wall. This again can be done with a sheet of cardboard or with some plastic sheeting.
When it comes to protecting the flooring, it can be worth stashing some old shower curtains or decorator’s tarps. These can easily be spread out to protect flooring when your child is working on something big.
The other option is to decide that you don’t mind if the walls and floor get dirty. If you can cope with a bit of mess, and the makerspace will stay for a while, it might be the lower stress option to just live with it. You can always redecorate in a few years’ time.
Storage
The most important feature of any makerspace is storage. A good makerspace should have room for all the tools and materials your kids will need for their projects. If you can get a desk with built-in storage, that’s a good option. You may also want to look at things like bookcases, which can be used to organize a wide range of items.
You’ll want to store and organize the most frequently used tools on the desktop or in easy reach. Materials can be kept in a set of drawers or a chest. But, you will want to try and keep them organized; otherwise, after one or two projects, you’ll never be able to find what you need again.
Labels can be a good idea for keeping storage organized. For younger kids, you might want to include a picture of what a clean workspace looks like. If you train your little maker to tidy up after themselves, it will save a lot of heartache down the line.
Choosing Makerspace Materials and Tools
As I mentioned earlier, having the right materials on hand can make or break a makerspace. To help you get stocked up, here are some ideas for materials and tools that you may want to consider getting and storing.
Essential Tools
There are a few things that every maker needs to have on hand, no matter what sort of projects they’re working on. At the top of my list would be these three things
- A good pair of scissors
- Masking tape
- A hot glue gun
The reasons behind scissors being on this list are probably obvious. They are among the most useful tools in existence, no matter what you’re trying to do.
I’m a big fan of masking tape for kids to use because it’s an excellent middle ground between clear tape and duct tape. Clear tape isn’t really that useful for construction projects. It works well on paper, and that’s about it. Duct tape will hold things together much better, but it’s hard to work with and can be a bit too strong sometimes. Masking tape is easy to tear, will work with most materials, and importantly, is reasonably priced.
You may be surprised at the suggestion of a hot glue gun. A lot of parents worry that they’re dangerous, and their kids will get hurt using one. However, with supervision, kids as young as six can use a hot glue gun safely. Once your kids can use one safely, you’ll realize the advantages. With a hot glue gun, you can make and then use something instantly. You don’t have to wait overnight for the glue to cure, it’s strong and versatile. If your child likes to invent and construct things, this is an essential tool.
Useful Maker Materials
When you first create a maker space for most kids, you don’t need to spend a lot of money on specialty materials. A lot of household items are ideal for use to create things.
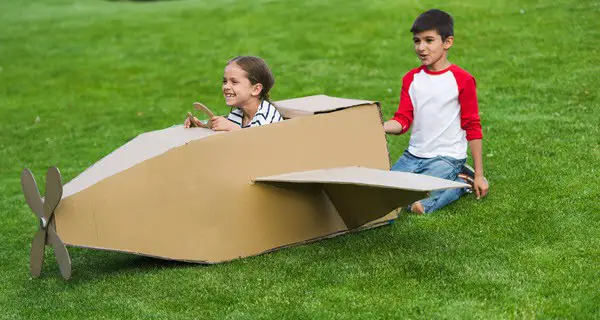
Cardboard is an incredibly versatile material. You may want to move your cardboard recycling into your kid’s maker space. That way, they’ll always have a supply of materials that would otherwise be getting thrown out. Washed out plastic bottles, corks, aluminum foil, and toothpicks are also useful items to add to the mix.
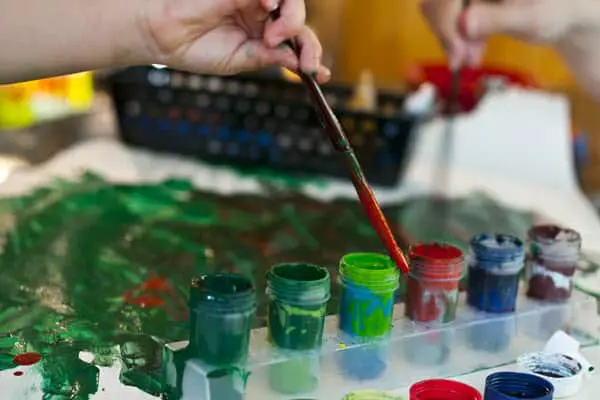
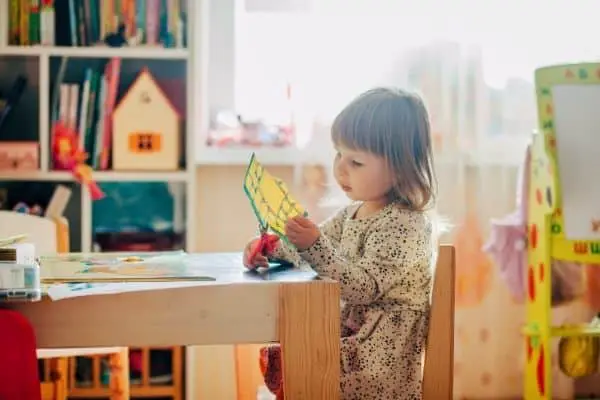
Paints are a good option. They let kids get creative in all sorts of different ways. They can use them to add color to all the things they create, not just painting pictures.
If you already have construction toys in your home, then you might want to move them into your makerspace. LEGO, wooden blocks, and magnet tiles are all great items for combining into all sorts of creations. If you have old build-it-yourself woodworking kits, the excess materials and tools make a great addition to a makerspace. Even toys your kids might have outgrown, like Duplo, will suddenly take on a new life when they’re looked at as building materials.
If your kid is interested in electronics projects, then you might want to invest in a wide selection of LEDs and batteries (CR2032 are the most commonly used). Pretty much any project they might want to try will use these, so you might want to bulk buy to save some money.
Another handy item for electronics projects is a supply of playdoh. Playdoh is conductive, so you use it to build simple circuits. If you make your own, you can play with the recipe to make some insulating versions, giving you loads more options for creating. It’s also much cheaper than buying reams of wires.
Specialty Items
Some specialty items would be great to have for young makers. These are very much nice to have, they are not essential, but they are very cool.
3D printers are an excellent way for kids to explore both engineering and computing. You don’t have to spend a fortune to get one anymore either. You can find a fantastic selection to choose from for under $200.
A great alternative to 3D printers is a 3D pen. With these cool pens, your kids can ‘draw’ 3D structures. They can layer up the plastic from the pen to create all sorts of amazing creations. To make something great requires a mix of artistic talent and engineering know-how. There are loads of great options to choose from
Finding Inspiration
Some kids only need to be pointed at a makerspace, and they’ll be away. Their imaginations will take them on an adventure. Other kids like to have some structure and guidance to help them get started. It’s totally normal for kids to feel overwhelmed if they’re given total freedom. If you and your kids need some inspiration, then here are some great places to look.
Books
If you and your kids are looking for inspiration for projects, there are some great books you can find that are filled with project ideas. Three that I would heartily recommend are
- Make it Glow: LED Projects for the Whole Family
- Electronics For Kids: Play With Simple Circuits and Experiment with Electricity
- Make: Tech DIY: Easy Electronics Projects For Parents and Kids
Subscription Crates
There are some great subscription crates that provide you with the ideas, instructions, and materials needed for creating something new. You can find a range of different boxes to suit your needs and preferences.
For instance, if you’re trying to be more environmentally conscious, you might be interested in Green Kid Craft. It’s a subscription box that is filled with recycled materials. The activities are also often based on learning about nature.
If you don’t want to commit to a monthly box, you might want to check our Kiwi Crate. They have a monthly subscription box, but you can also buy single boxes or a set of 3 or 5. This is an excellent option if you want to have more flexibility about the projects’ timing.
One of the most significant benefits of going for a monthly subscription model is that you know that you’ll keep going with using the space you’ve made. Every month there will be something that pulls you and your kids back to creating things. It also means you don’t have to keep planning activities for them!
Frequently Asked Questions
What is a makerspace?
A makerspace is an area that is dedicated to creative projects. It can be as simple as a spot for doing art, or it can be fully kitted out with a 3D printer and a full array of tools and materials.
What are the benefits of a home makerspace?
Creativity is a really important outlet. By having a makerspace for your kids, you give them the tools and opportunity to express themselves. This is not only important for developing school and thinking skills, it’s also crucial for their wellbeing. Creativity is not something that happens on its own. It’s important to nurture it in our kids.
Is it expensive to set up a makerspace for kids?
A makerspace doesn’t have to be expensive. You can spend as much or as little as you want. The basics you need are a flat work surface, some essential tools, and materials. Keeping your kid stocked with materials doesn’t have to be expensive either. Cardboard, empty bottles and containers, and old clothes are all excellent maker materials.


