Civil War STEM Projects [6 Incredible Ideas To Try]
The Civil War was a huge turning point in American history. This tumultuous war lasted between 1861 to 1865 and was caused by immense differences of opinion between North and South. The morals and economics of slavery and a state’s right to choice divided the United States of America, and has since created educational, thoughtful, and often controversial elements to lesson plans in American schools.
Luckily, you can take any concept of a subject and turn it into STEM. If you’re looking to think outside of the box, there are plenty of resources that help to influence Civil War STEM projects. These are six of our most favorite, easy-to-create choices.
Related posts: Long-Term STEM Projects
Civil War STEM Projects
As always, test these out on your own before showing them to the kids. Since the Civil War is mostly taught from grades 5-8, many of these projects are geared towards these ages. But the beauty of hands-on STEM projects is that most of them can be adjusted to fit any age group.
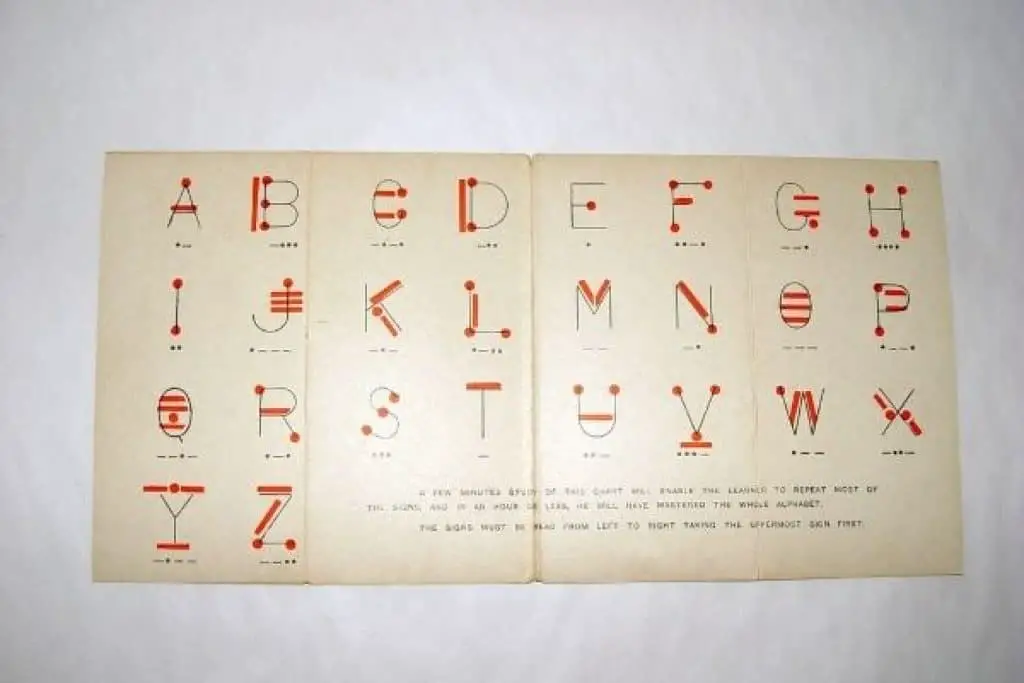
1. Decoding Morse Code with a Telegraph
President Lincoln relied heavily on the telegraph to communicate with his troops about the war. The telegraph was used to transmit and receive messages over a long distance. This was the first version of a texting machine and was developed by Samuel Morse. The Morse code used dashes and dots to signal the alphabet, and this was how they communicated.
This activity has different extensions created by the Abraham Lincoln Presidential Library & Museum. Children will learn how the telegraph worked by creating one with very simple materials, and they’ll also learn how even back then, there were hackers trying to learn enemy secrets!
2. Build a Candle-Powered Steamboat
Steamboats were primarily used during the Civil War to transport large numbers of troops.
This activity takes kids through the building process of a DIY steamboat, while also showing the physics of movement.
Materials
- Small piece of wood (easily carved)
- Small saw
- Tealight
- Thin, metal pipe with open ends
- A syringe filled with water
In this video, he first creates a small boat by carving it out of wood. Next, bend the pipe so there are two or three coils in the center, and the long ends are parallel to each other. Make two holes at the back of the wooden boat, and slip the ends of the pipe into the holes. Slip the tealight in between the wooden boat and the coils of the pipe.
Fill the pipe with some water using a syringe. Light the candle and place the boat into the water. The boat is powered by the heat and steam pushing through the holes of the pipe. Here’s a full video tutorial on How to Make a Steamboat with a Candle.
3. Make a Civil War Pinhole Camera
Photography was only a little over 20 years old when the Civil War broke out. During the Civil War, cameras were bulky and heavy to carry around, but they created amazing images of soldier portraits and battle scenes that we still admire today. Here, we use STEAM to recreate a Civil War pinhole camera that works.
Materials
- One cartridge of film (110-size, color)
- Corrugated cardboard – thick
- Black tape
- Black paper or paint it black
- Scissors
- Knife
- Ruler
- Aluminum foil
- Sewing needle
- Two rubber bands – large
- Dime or nickel
To see the full tutorial, visit Boys’ Life. When taking the pictures, have fun with it by reenacting a scene or taking different portraits. Luckily, the old-school, 110-format film is making a comeback, but you’re more likely to find it online.

4. Natural and Manmade Features of Gettysburg
This lesson is for middle school students learning about the bloodiest battle of all: Gettysburg. The American Battlefield Trust has an extensive range of lesson plans available, and this one, in particular, called Natural and Man-made Features, uses technology and observation to learn about how the natural and man-made environment affected the strategies and maneuvers used during the battle.
You can also use their list of interactive online materials to inspire a project. Although they suggest an illustration or written explanation of the environment that impacted the battle, this is an excellent opportunity to create a diorama or model. Some of the interactive materials you’ll find on their site are:
- Gettysburg 360 virtual tour
- Battle of Gettysburg animated map
- Battlefield Fences video
- Terrain video
- Why did Civil War Soldiers Fight in Lines video
There are so many aspects of environmental science, technology, engineering ingenuity, art, and math in this project that it’s just oozing with STEAM.

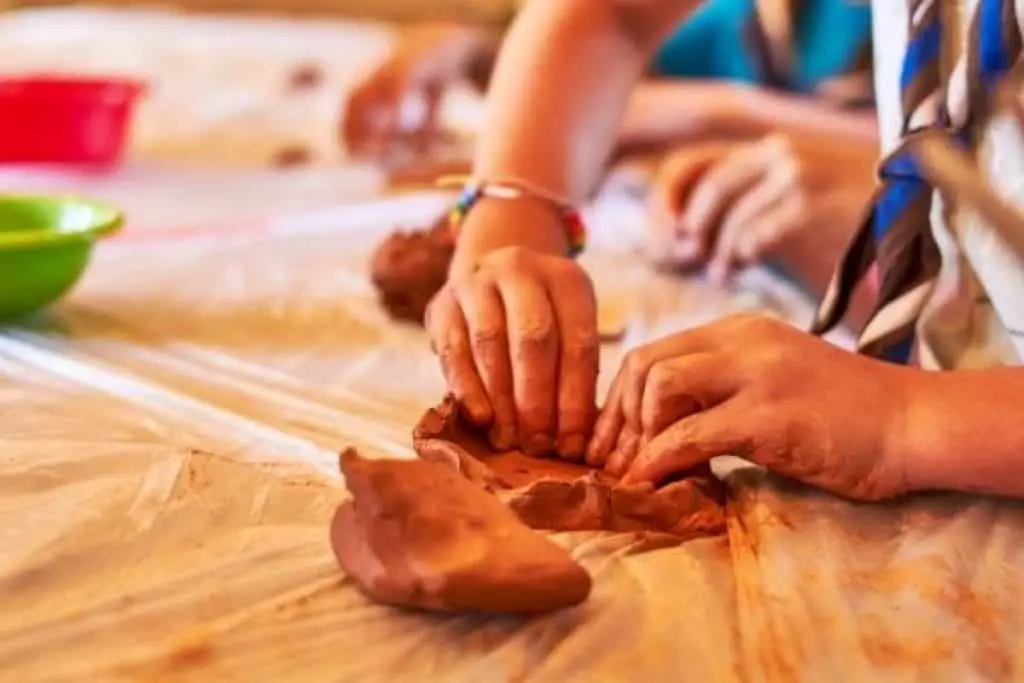
5. Design a Monument
Most monuments of the Civil War show generals and other officers from different significant battles. Since most of the Civil War was based on the morals and economics of slavery, have students research African-American soldiers who fought in the war to abolish slavery and create monuments of their lives or heroic actions.
This activity requires kids to use research skills and technology to construct a monument. Math skills are utilized by measuring the dimensions of the memorial and acquiring dates.
Some materials you might consider using are:
- Clay
- Paint
- Cardboard boxes
- Printer paper and ink
- Index cards
- Plaques or wooden boards for signs
- Paper mache
Here, there is a lot of focus on art, research, and artistic engineering skills, with plenty of language arts, added to the mix. What I love about this project is that you can take it in many different directions, including focusing on doctors, engineers, and scientists who made significant impacts on the war.
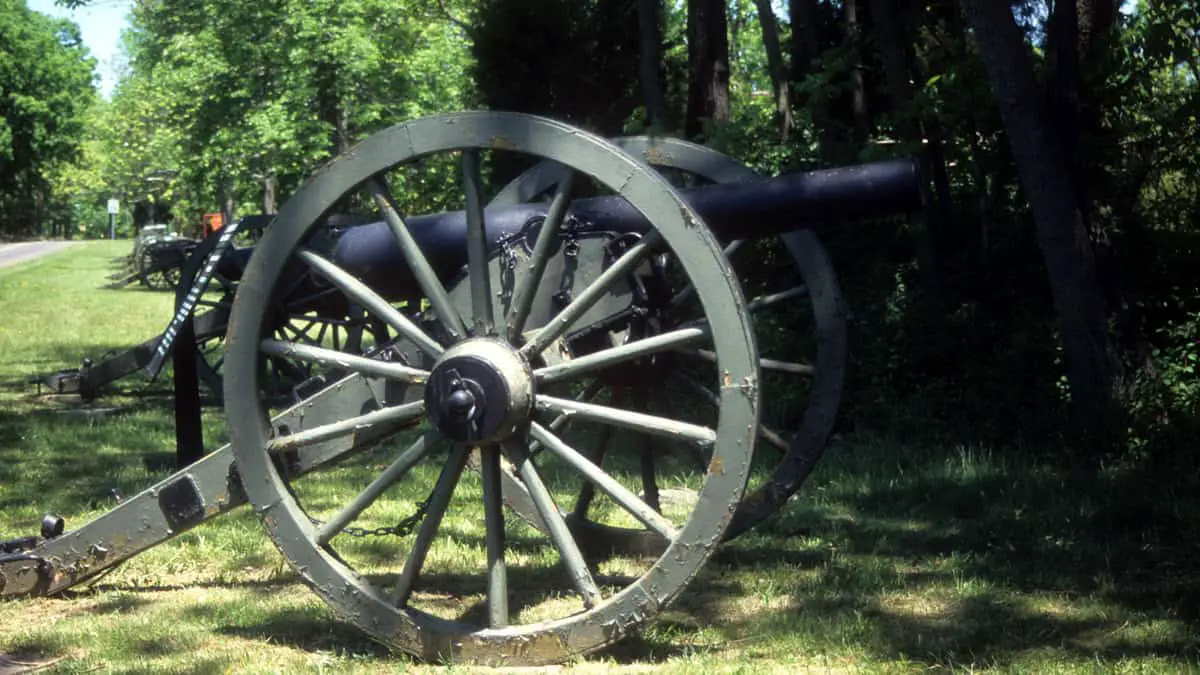
6. Transporting Weapons
Engineers were essential during the Civil War to design bridges, roads, and covered wagons that soldiers used to transport weapons and other supplies. Kids can become Civil War engineers by designing and build a covered wagon strong enough to hold hefty equipment. The challenge is to see whose covered wagon can hold the most weight without collapsing.
Wagon Materials
- Cardboard pieces of different sizes
- Toothpicks
- Pipe cleaners
- Straws (paper, to avoid extra plastic)
- Light cloth for the covering
- Construction paper
- Scissors, tape, and glue
- Weights (coins, magnets, weights, etc.)
- Milk bottle caps
You’ll need to figure ahead of time the size of the covered wagons. This will help with the amount and sizes of supplies you’ll have on hand. Make sure each group has enough supplies to construct a strong wagon.
For an added challenge, you can have them also construct bridges where the covered wagons will have to cross with the heavyweight.


